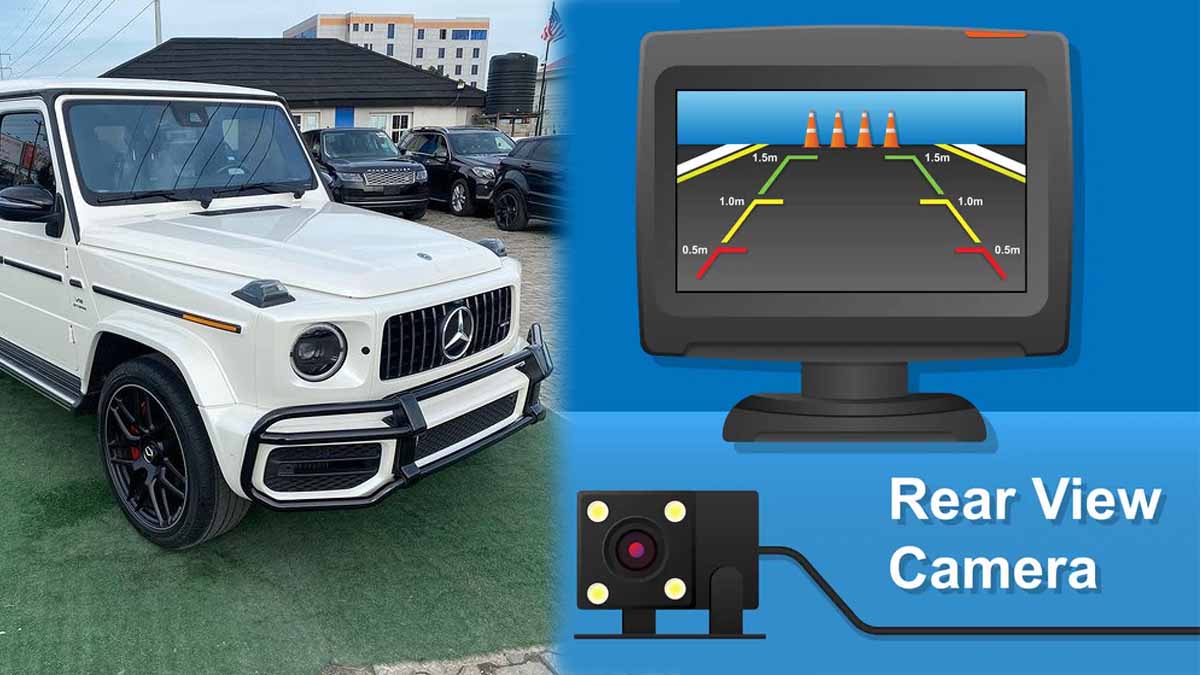
Installing a rear-view camera is quite simple and straight-to-the-point. Just a little tweaking of wires here and there, together with removing a little interior trim, and you are done within an hour. Rear-view cameras are fitted just at the rear of a car and they give you a wider view of what lies behind you on a monitor or screen, so you don’t bump into them or cause any unnecessary accidents. Unless your car is an old vehicle, most modern vehicles come with an already installed rear-view camera as part of their electrical components. Even if your car doesn’t have a rear-view camera, installing one is essential as it prevents accidents and makes parking easier for you. You don’t have to constantly crane your neck backward when you want to park, all you need to do is put your car in reverse, the rearview camera turns on, and you can clearly see what lies behind you on the screen.
Table of Contents
Where Do I Install A Rear View Camera
Where you mount your rearview camera determines the kind of image that is projected on the screen. Camera’s are usually installed at the rear of a car. When mounting your camera, ensure it is not obscured by anything and doesn’t get interfered with when you open/close your boot.
Buy top trending Car accessories in Lagos and Original Korea Battery now Check @carfanzy Lagos on Instagram
What Tools Are Needed To Instal A Rear View Camera
- Flathead screwdriver
- Phillips screwdriver
- Trim/panel removal tools
- Wire strippers
- Cordless drill
- 3/32 to ⅛ drill bit
- Automotive Multimeter
- Wire connectors such as Posi-Taps
- Electrical tape
- Zip ties
- A friend
- Materials Needed
- Rearview camera
- Wire cluster
- Monitor or infotainment unit (if necessary)
- Rubber grommet
Installing A Rear View Camera
There are various types of rear-view cameras and displays; with diverse prices. Don’t just pick out anyone you find in a car’s aftermarket, ensure to pick what best fits your car.
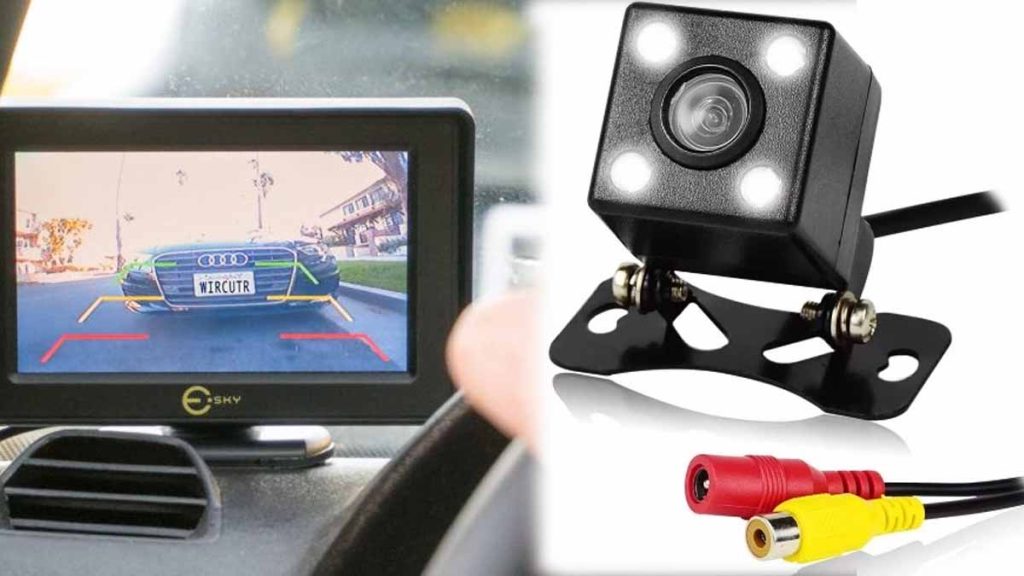
Types of Cameras
- Bracket-mounted: The camera is attached to but separated from a bracket that can be mounted on the car’s surface.
- Flush-mounted: A camera that is made to blend with the surface of the vehicle as much as possible. This camera looks like a part of the design of a car.
- License plate frame: The camera is embedded within a license plate frame, usually at the upper part of the license plate.
- License plate bar: The camera is centered in a bar that stretches across and attaches to the top of a license plate.
- Wired rearview camera: This camera requires a wired connection to show video or images on the display screen.
- Wireless rearview camera: Rather than use wires, wireless makes use of signals and receiver method to display images or videos on the screen.
Types of Displays
- In-dash aftermarket: It is usually embedded within the dashboard of a car, hence the name in-dash. An added infotainment stereo with a screen that fits flush with the dashboard.
- On-dash aftermarket: It is usually mounted on top of the dashboard.
- Rearview mirror: A monitor is built into the rearview mirror. Sometimes the screen is half of the mirror, sometimes it is full-length. When not in use, it just looks like a mirror. Depending on the make, the rearview mirror display can be attached to your existing rear-view mirror or you might need to totally replace it.
Installing The Camera Cables
Follow these simple steps to install the camera:
- Remove the license plates using a Phillips head screwdriver. Safely keep all the screws holding the license plate in place.
- Opening your trunk, use a trim/panal removal tool to pry open the solid interior panel covering the opposite side of your license plate mounting area. Removing this panel will expose the car’s rear wiring chambers.
- Using a power drill equipped with a high-speed twist drill bit, drill a small hole in the license plate mounting area . Make sure there are no wires, cables, or trim pieces that could be damaged when you drill a hole through the exterior of the car.
- To figure out where to make the hole, hold your camera up to the area you intend to mount it. Then, note the spot where its splitting cord sits. Drill a hole large enough to contain the video and camera’s power cables.
- Before running your camera cable into the car, slip a rubber grommet onto it near the non-splitting end. The rubber grommet should fit exactly the size of the hole you drill
- Pull the splitting end of your camera’s video and power cable through the drilled hole into the trunk of your car.
Also Read:
- Car Reverse Camera Price In Nigeria: Best Reverse Camera Brands To Buy
- 2021 Mitsubishi Lineup – Latest Mitsubishi Cars & Price
- How To Check Vehicle History For Free In Nigeria
- How To Learn About Cars! Be Your Own Mechanic
- What To Consider Before Getting Your First Car
Wire Installation
- Locate your car’s reverse light wires, if you can’t find them, check your owner’s manual. Reverse light wires are the cords that connect your car’s tail lights to the dashboard.
- Strip and separate your car’s reverse light wires, using a wire stripper or pliers.
- Fuse your camera wires with the reverse light wires. Make sure you twist your positive (usually red) camera wire through the positive reverse light wire and the negative (usually black) camera wire through the negative reverse light wire.
- For safety, make sure you wrap the combined wires in electrical tape
Display/Monitor Installation
- Depending on the type of vehicle, determine whether you want to track the wire under the floor of the vehicle or through its headliner.
- Remove or partially detach any trim pieces, carpeting, headliner, or door rubber needed to discreetly run the wire.
- Run your camera’s video cable to the front of the car towards the area by the fuse box.
- If you’re installing an external monitor, first attach your device’s included mount to the windshield by following the manufacturer’s included instructions. Then, hook your monitor onto the mount.
- If you are installing internal monitors, you’ll need to clip the new device onto your current rear-view mirror. For others, you’ll need to remove the mirror and slide your monitor into the pre-existing mirror mount. Endeavor to follow manufacturer’s instructions as it slightly differs depending on the model.
- Run the monitor’s splitter cable to the fuse box.
- After routing your monitor’s splitter cable, connect the video end of the cable to your camera’s RCA cord. Then, wrap the connected cords with electrical tape to hold them together.
- Connect your remaining bare wire cable to the backup monitor’s power cord. Insert the positive (usually red) end of the bare wire cable into the open end of a fuse tap. (A fuse tap is a small cable that converts a bare wire into a fuse signal.) Finally, clamp the 2 cables together with a pair of pliers
- Plug the fuse tap into the fuse box
Mounting The Camera
- Once you are done installing the display/monitor, you will have to return to the rear of your car to complete the camera installation. Connect the rearview camera to its power and video cable. You use find the power and video cable sticking out from the drilled hole.
- If the camera attaches to the front of your license plate, follow the manufacturer’s instruction to mount it to the license plate.
- If the camera attaches to the back of your license plate, line the device up with the plate’s fastener holes and drill screws through them. The screws you removed from the license plate could be used to mount the camera.
- Using a Phillips head screwdriver, put your rear license plate back on your vehicle.
- Once you’ve reattached it, give the license plate and backup camera firm tugs to make sure they’re firmely secured.
CONCLUSION
Once you are done installing and cleaning up the area where you mounted the new rearview mirror, test the camera to make sure everything works. This should be done in a safe place like your driveway or garage before driving your car out in public.
Have 1 million naira and above to Buy or Sell Cars In Nigeria? Check Carmart.ng RIght Now
All rights reserved. Reproduction, publication, broadcasting, rewriting, or redistribution of this material and other digital content on carmart.ng is strictly prohibited without prior express written permission from Carmart Nigeria - Contact: [email protected]
Stay informed and ahead of the New Car info! Follow The Carmart Blog on WhatsApp for real-time updates, Cheap Cars, and Latest new car content. Don't miss Any –
Join The Carmart Blog Channel

